10% OFF
Use Code
SAVE10


10% Off Use Code SAVE10 | FREE Shipping Orders $50+ | Rush Delivery Available | Ships Same Day
10% Off: SAVE10 | FREE Shipping Orders $50+
Order Online Or Call Now +1-877-958-1499

Securing yard signs in the ground may seem like a simple task. But here at Yard Sign Plus, we understand that it involves more than just jamming a wire stake into the ground. There are standard steps you can follow to ensure your yard signs stay on the ground as long as you need them.
Whether you are advertising an event, preparing for the election season, or selling real estate, the stability of your yard signs can make or break your campaign. Follow the steps below to effectively secure your yard signs in the ground.
Gather everything you need first to ensure the installation process is smooth. You don’t have to stop midway through the installation just to get a missing item. Here are the essential materials you need to secure yard signs in the ground.
This is the outdoor yard sign that contains the message you want to display. At Yard Sign Plus, we have corrugated plastic signs with customizable designs. Choose from a variety of templates with different design elements, colors, and sizes to suit your needs.
The high-quality 4mm-thick corrugated plastic and ultraviolet (UV) ink of our custom yard signs protect against all weather conditions, including rain, snow, and heat. With these features, you can ensure the longevity of your yard signs in the ground and prevent expensive replacements.
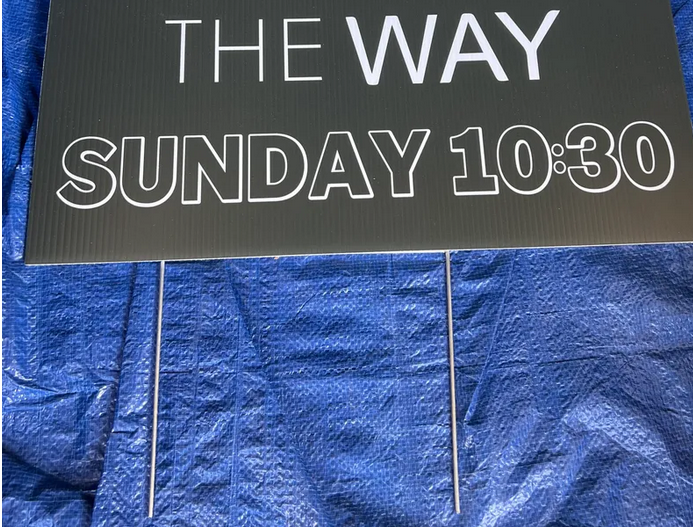
These are the supports that hold your signs in place. They can be made of metal or plastic. At Yard Sign Plus, we have metal wire stakes that ensure the durability of your yard signs. You can find the option of adding stakes while you are designing your custom signs on our website.
You can have a successful installation with just your yard sign and stakes, but these installation tools can make your life easier. This is especially true if you are dealing with installation problems such as hard soil. Here are the installation tools you should consider:
| Tool | Function | Ideal For |
| Mallet or Hammer | Drives stakes into the ground | Hard Soil |
| Pickaxe or Post Hole Digger | Breaks hard ground | Difficult-to-penetrate soil |
| Shovel | Digs | Deep digging for additional support |
| Garden Rake | Levels the installation area | Uneven ground |

It’s crucial to assess the ground conditions to ensure your signs remain secure. Different ground conditions can affect the ease of installation and the stability of your yard signs. Below is a quick overview of common ground conditions and how to deal with them.
| Ground Condition | Problem | Solution |
| Soft Soil | It doesn’t provide the best support for yard signs, but it is easy to dig | Pack soil tightly and use longer stakes |
| Hard Soil | Challenging to dig but provides excellent stability | Moisten soil to ease digging and use standard tools such as mallets |
| Sandy Soil | Loose soil that doesn’t hold yard signs securely | Reinforce your stakes with metal rods and zip ties |
| Rocky Soil | Difficult to penetrate | Use durable metal stakes such as those from Yard Sign Plus to ease penetration |
Dry soil presents the fewest problems. It can be tough to dig, but you can loosen it with water and it will still provide great stability. Wet soil can be problematic, but it’s easy to dig and you can pack the soil tightly around your stakes to make them more secure.
If you don’t need to install yard signs immediately, consider waiting for the ground to thaw. But if you really need to install yard signs, use a post-hole digger to penetrate the frozen ground.
| Avoid Illegal Yard Signs: Before you install yard signs, check local regulations, institutional guidelines, and homeowner’s association rules for restrictions. For example, the University of Northern Florida guidelines clearly state that students can’t drive stakes into the ground with a hammer. Check out our guide on the laws and regulations for placing yard signs. |
Set the foundation for secure and stable yard signs. With proper ground preparation, you can install yard signs properly and let them endure environmental factors such as wind. Here is a clear step-by-step process on how to prepare the ground for installation:
| Safety Tip: Install yard signs in entrances and exits, at the center of yards, or near landscaping features such as bushes and trees. These areas usually don’t obstruct pedestrians and drivers, making them safe spots for signs. |

After preparing the ground, it’s time to insert stakes and install yard signs. Here is a clear step-by-step process for inserting stakes in the ground and attaching the signs to the stakes:
That’s it. You have finally secured your yard signs in the ground. Clear away any debris, soil, or tools around your signs to make the display area more appealing. With a few more security and stability techniques, you can make your signs stand the test of time.
Yard signs that are securely anchored in the ground are less likely to be damaged or stolen. Here are additional securing techniques to keep your signs firmly in place.
Gather soil around the stakes to make your yard signs more secure in the ground. The packed soil in the ground helps create a solid foundation that can stabilize your stakes and prevent them from tilting. This is an effective measure to create long-lasting signage.
Use your hands to firmly press the soil around the stakes. If you don’t want to get dirty, you can also use your feet to stick the soil in place.
Extra stability is ideal for unstable soil conditions and windy areas. Cross-bracing is a popular technique you can try. Attach horizontal braces between your stakes to help them withstand soft ground and wind.
You can also add metal rods to the ground next to the stakes and secure them with clamps and zip ties.
You can use a level to check if the yard signs are properly aligned. If they are not, you can adjust them by hand or use a mallet to gently tap the stakes until you achieve perfect alignment.
As a final test of firmness and stability, gently shake the signs. If they tilt or wobble, add more soil around the stakes or reinforce the stakes with cross-braces and metal rods.
At Yard Sign Plus, we understand that yard signs are not just here to convey a message. They are also here to show your attention to detail and commitment to quality. Reflect your professionalism in your campaigns with well-secured yard signs on the ground.
Whether you are in the market for simple birthday party yard signs or complex political campaigns during the election season, we have the yard signs and stakes you need for well-secured signage.
Browse our wide variety of templates and customize them as you please. If you need more customization options, contact us and we will be happy to accommodate your needs.
Leave a comment